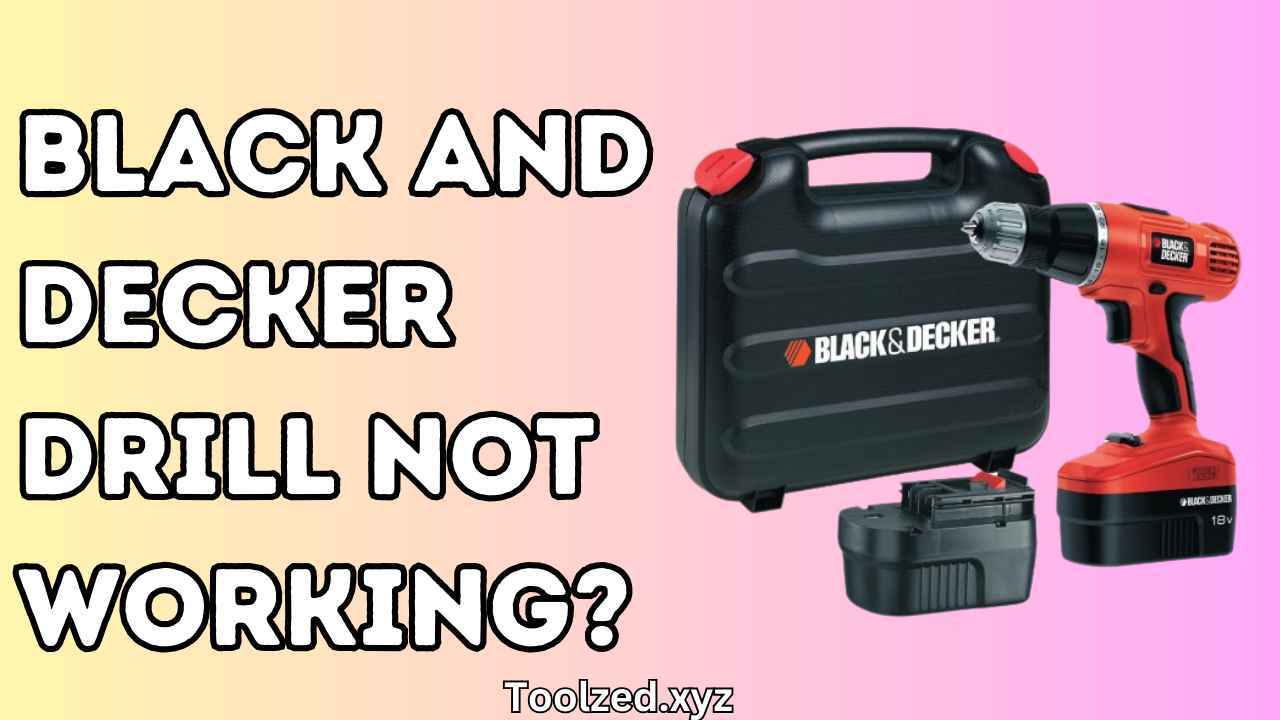
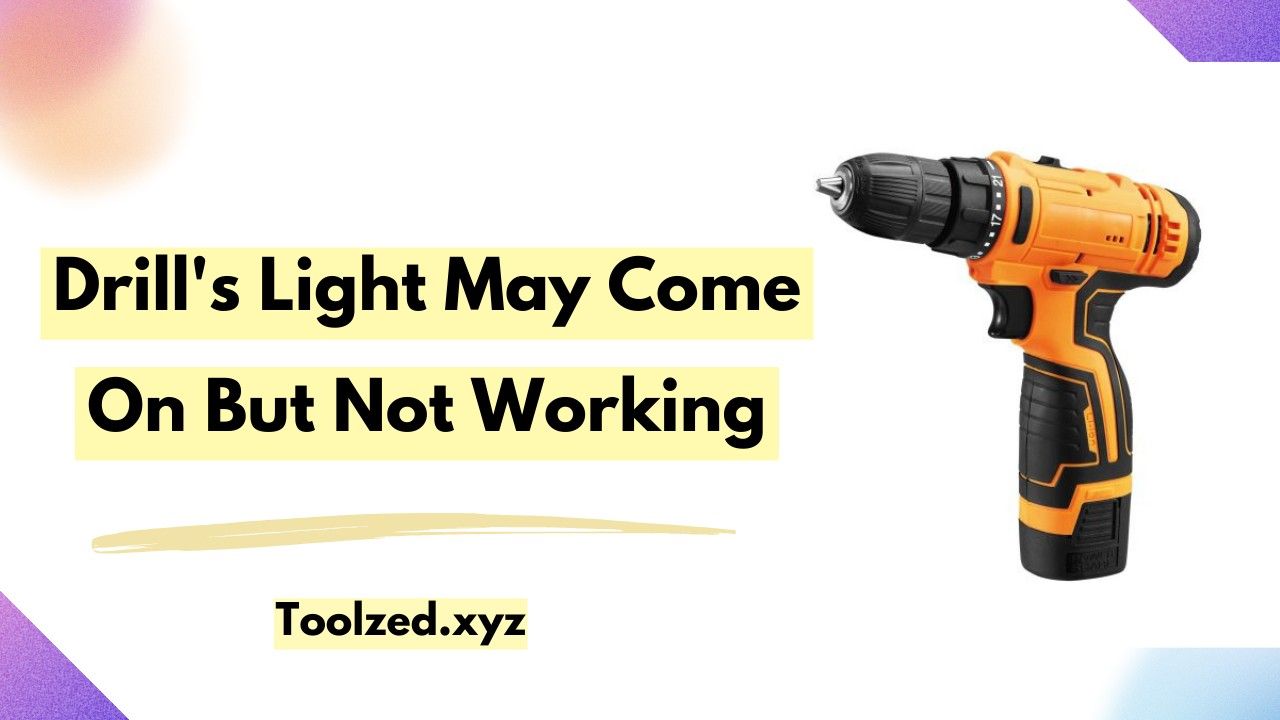
Facing issues with your Black and Decker drill can be frustrating, especially when you’re in the middle of a project.
But don’t worry, you’re not alone, and often, the solution is simpler than you might think.
In this guide, we’ll walk you through some common problems and their DIY fixes, helping you get back to your tasks with minimal downtime. Whether it’s a power issue, a battery problem, or something else, we’ve got you covered. So let’s get started!
First Thing First:
Before we dive into troubleshooting, it’s important to know that Black and Decker offers a 30-day refund policy and a 1-year warranty for their drills.
If your drill is still within this time frame, you may want to consider contacting the manufacturer for help or getting a replacement.
Additionally, the average lifespan of a Black and Decker drill is around 12 to 25 months, depending on usage and maintenance. If your drill is older than this, it may be time to consider investing in a new one.
Power Issues
The first thing to check when your Black and Decker drill is not working is its power source. Without proper power, your drill won’t be able to function. Here are some steps you can follow:
- Check the power outlet: Ensure that the outlet you’re using is functioning correctly by plugging in another device. If the outlet is not working, try using a different one.
- Check the power cord: Inspect your drill’s power cord for any damage or frayed wires. If you notice any, it’s best to replace the cord before using the drill again.
- Check the switch: Make sure that the switch on your drill is in the ‘on’ position and hasn’t accidentally been turned off.
- Check the fuse: If your drill has a fuse, it may have blown out due to a power surge or other electrical issue. Replace the fuse if necessary.
Charger Conundrum
If your Black and Decker drill is not holding a charge or is taking too long to charge, the problem may be with the charger. Here’s what you can do:
- Check if the charger is plugged in correctly and there are no loose connections.
- If your charger has an indicator light, check if it’s showing any signs of life when plugged in.
- If the indicator light is not turning on, the charger may need to be replaced. Consult a professional or refer to your drill’s manual for instructions on how to replace the charger.
Battery Problems:
If your Black and Decker drill is cordless, the problem could be with its battery. Over time, Li-ion batteries in cordless drills can lose their capacity or die completely. Here’s what you can do to check if your drill’s battery needs replacement:
- Fully charge the battery for at least an hour.
- Unplug the battery and set your multimeter to measure DC voltage.
- Touch the multimeter probes to the positive and negative terminals of the battery. Ensure the negative probe is on the negative terminal and the positive probe on the positive terminal.
- Check the voltage reading on the multimeter. A fully charged battery should test at least 1 volt higher than the voltage listed on the battery. For example, an 18-volt battery should read 19 volts or higher.
- If the voltage reading is at or below the rated voltage on the battery, it indicates the battery needs replacement.
- If the battery is still not holding a charge even after being fully charged, it’s best to replace it with a new one.
Chuck Challenges
If your Black and Decker drill is turning on but not spinning, the problem could be with the chuck. The chuck is responsible for holding the drill bit securely in place. Here’s what you can do:
- Check if the chuck is properly tightened. If it’s loose, tighten it using a chuck key or by hand.
- If tightening doesn’t solve the issue, remove the drill bit and inspect it for damage. A damaged or worn-out drill bit can prevent the chuck from gripping it properly.
- If the drill bit is fine, check if there is any debris stuck in the chuck jaws. Use a small brush to clean out any dirt or debris that may be preventing proper function.
- If none of these steps work, the chuck may need to be replaced. Consult a professional or refer to your drill’s manual for instructions on how to replace the chuck.
Torque Troubles
If your Black and Decker drill is not providing enough torque or struggles when drilling, the problem could be with its clutch setting. The clutch on a drill controls how much torque is applied while drilling. Here’s what you can do:
- Check if the clutch setting is too low for the task at hand. Increase the number on the clutch to provide more torque.
- If the clutch is set too high, it can also cause the drill to struggle or stall. Lower the clutch setting to provide less torque.
- If adjusting the clutch doesn’t solve the issue, check if there is any debris stuck in the chuck or gearbox that may be affecting the drill’s performance.
Trigger Test
If your Black and Decker drill is not turning on at all, the problem could be with its trigger. The trigger is responsible for powering the motor of the drill. Here’s what you can do:
- Check if the trigger is stuck or damaged in any way.
- clean the trigger with a damp cloth and ensure it’s free of any debris.
- take out the battery and measure the resistance between the positive and negative terminals using a multimeter.
- If there is no resistance, it indicates a faulty trigger and may need to be replaced.

Armature Issues
The armature is the rotating part of a drill’s motor. If your Black and Decker drill is making unusual noises or smells like burning, the problem could be with its armature. Here’s what you can do:
- Inspect the armature for any signs of damage or wear.
- If the armature is damaged, it will need to be replaced by a professional.
- If there is no visible damage, check if the armature is getting proper power from the battery and trigger.
- If everything else checks out, the issue may be with the motor itself, and it should be inspected by a professional.
Broken Magnets
If your Black and Decker drill is not providing enough power or suddenly stops working, the issue could be with its magnets. The magnets in a drill’s motor are responsible for producing the magnetic field necessary for rotation. Here’s what you can do:
- Inspect the magnets for any damage or wear.
- If there is visible damage, they will need to be replaced by a professional.
- Check if the magnets are receiving proper power from the battery and trigger.
Carbon Brushes
Carbon brushes are small, spring-loaded parts that conduct electricity within a drill’s motor. If your Black and Decker drill is not turning on or has suddenly stopped working, the problem could be with its carbon brushes. Here’s what you can do:
- Inspect the carbon brushes for any signs of wear or damage.
- If they are worn out, they will need to be replaced by a professional.
- Check if the carbon brushes are making proper contact with the commutator in the motor.
Rotor Realignment
If your Black and Decker drill is making grinding noises or is difficult to turn, the issue could be with its rotor. The rotor is responsible for rotating the armature in a drill’s motor. Here’s what you can do:
- Inspect the rotor for any signs of damage or wear.
- If there is visible damage, it will need to be replaced by a professional.
- If there is no visible damage, check if the rotor is properly aligned and making proper contact with the armature.
Contact Customer Support:
If you have tried all of the troubleshooting steps above and are still experiencing issues with your Black and Decker drill, it’s best to contact their customer support team at 800-544-6986 for further assistance.
They may be able to provide additional troubleshooting advice or direct you to a certified repair center if needed.
Conclusion:
Don’t let these common issues with your Black and Decker drill discourage you from DIY projects or home repairs.
With the right knowledge and troubleshooting steps, these problems can often be easily resolved. Remember to always consult your drill’s manual for specific instructions and safety precautions before attempting any repairs.
Happy drilling!
