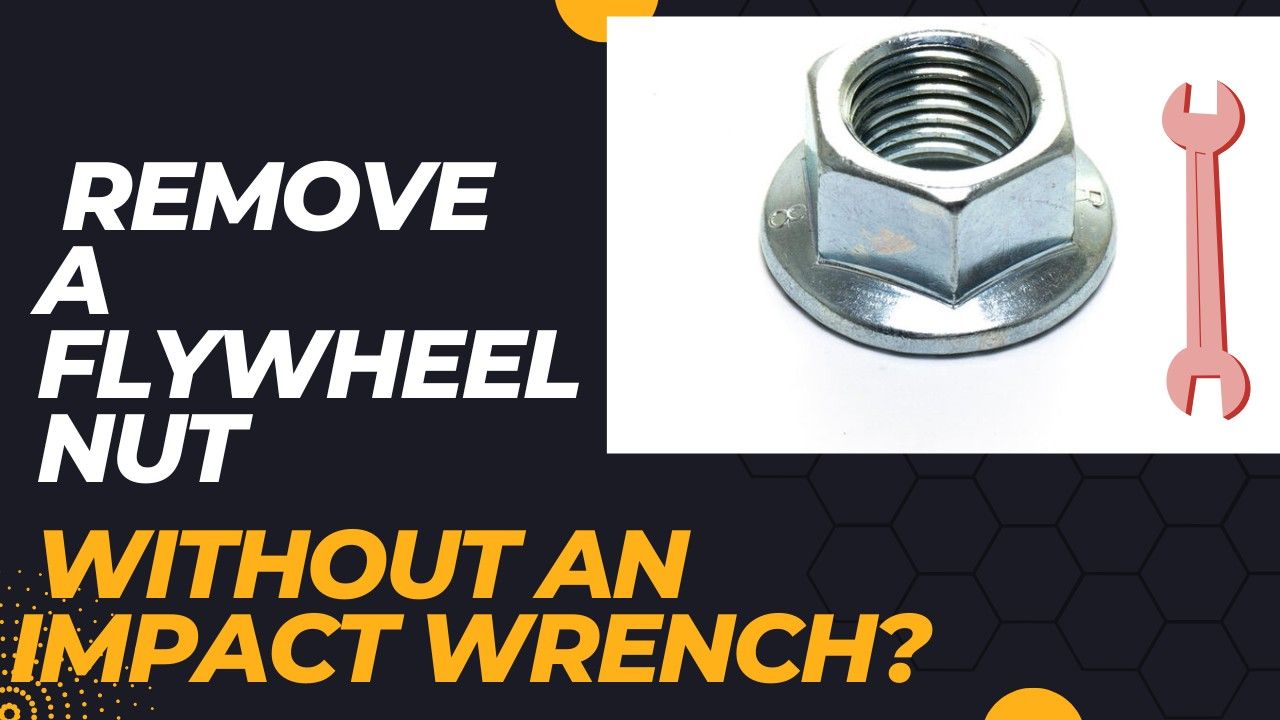
Want to know how to remove a flywheel nut without an impact wrench? You’re in the right place! Regarding engine maintenance or repairs, tackling the flywheel nut can be challenging without the right tools.
But fear not! This blog post will explore nine simple and effective ways to get that nut off without sweat. So, whether you’re a seasoned mechanic or a DIY enthusiast, read on to learn some handy techniques for flywheel nut removal!
Safety Precautions: Gearing Up for the Task
Before we discuss the different methods of removing a flywheel nut without an impact wrench, it’s important to highlight some necessary safety precautions.
These measures are especially crucial when dealing with mechanical parts that have been in use for extended periods, as they can be worn out and potentially hazardous.
- Wear protective gear: This includes gloves, eye protection, and sturdy footwear to protect yourself from any flying debris or accidents during removal.
- Secure the vehicle: Whether you’re working on a car, truck, or motorcycle, ensure it’s secure and stable before removing the flywheel nut. This can be achieved using jack stands or blocks to support the vehicle’s weight.
- Read the vehicle’s manual: Familiarize yourself with the specific steps for removing a flywheel nut on your particular vehicle to avoid causing any damage or injury.
With these precautions in place, let’s explore nine different methods of removing a flywheel nut without an impact wrench.
9 Methods to Remove a Flywheel Nut Without an Impact Wrench
Utilizing a Breaker Bar
A breaker bar (as shown in image) is one of the most effective tools for removing a flywheel nut without an impact wrench.

A breaker bar is a long-handled tool that allows you to leverage your strength to loosen tight fasteners. Here’s how to use it:
- Before loosening the nut, immobilize the flywheel using a holding tool or a DIY method to prevent rotation.
- Select a socket that fits the flywheel nut tightly to avoid slipping and nut damage.
- Place the socket on the nut and attach the breaker bar securely.
- Apply steady, controlled pressure on the breaker bar counterclockwise. The length of the breaker bar increases your force, making loosening easier. Increase force slowly to prevent damage.
- Continue turning the nut until it’s free after it starts to loosen. If stubborn, apply penetrating oil and let it soak before attempting again.
Utilizing a breaker bar is an efficient and straightforward method that requires minimal tools while ensuring you can remove a flywheel nut without an impact wrench.
Using a Flywheel Holder
A flywheel holder is invaluable for removing a flywheel nut without an impact wrench. This device securely grips the flywheel, holding it in place and preventing it from rotating as you loosen the nut.
Here’s the step-by-step process to employ a flywheel holder effectively:
- Position the flywheel holder so that it firmly grips the flywheel. Ensure the device is securely attached and there is no slippage risk.
- Once the flywheel is immobilized, attach the correct size socket to the flywheel nut.
- Use a breaker bar or a wrench to apply counterclockwise pressure to the nut. The flywheel holder will resist the flywheel’s tendency to rotate, allowing you to apply the necessary torque to loosen the nut.
- If the nut is particularly tight, you can lightly tap the wrench or breaker bar with a mallet to help loosen it.
- Continue applying pressure until the nut is successfully loosened and removed.
Using a flywheel holder not only makes removing a flywheel nut easier but also greatly increases safety by preventing the flywheel from making unexpected rotations.
The Hammer and Chisel Technique
The hammer and chisel technique is a traditional approach to removing a flywheel nut without an impact wrench. It’s particularly useful when other tools are unavailable or when dealing with a stubborn nut. Here’s how to employ this method effectively:
- Select a sharp-tipped cold chisel and a heavy-duty hammer. The chisel must be durable enough not to break under force.
- Angle the chisel on a flywheel nut notch, ensuring it’s stable to avoid slipping.
- Hit the chisel with the hammer firmly. Aim to turn the nut counterclockwise with sharp, controlled hits rather than constant pressure.
- Repeat, increasing strike force as needed, but avoid damaging the nut or surrounding area.
- Once loose, remove the nut by hand or with a wrench.
This technique requires patience and precision. It’s recommended for use only when other methods are not viable, as it may damage the nut or the flywheel itself.
Applying Heat with a Torch
Applying heat directly to the flywheel nut using a torch is an effective method to loosen it, especially when dealing with corrosion or a very tight fit. The heat causes the metal of the nut to expand, making it easier to unscrew. Here’s how to safely apply this method:
- Ensure the area around the flywheel is clear of any flammable materials to prevent fire hazards.
- Use a propane torch or similar device to evenly apply heat to the flywheel nut. To prevent damage, avoid overheating any single area.
- Heat the nut for a short period, typically 30 seconds to a minute, depending on the torch’s intensity and the nut’s size.
- Once the nut is heated, attempt to loosen it using a breaker bar or wrench. Be cautious, as the nut will be hot.
- If the nut does not budge on the first try, allow it to cool slightly before repeating the heating process.
When utilizing heat, it’s vital to proceed with caution to ensure your safety and prevent damage to the flywheel, nut, or other engine components. Always wear protective gloves and eyewear during this process.
Utilizing Penetrating Oil
Penetrating oil is a valuable ally in the battle against stubborn flywheel nuts. Its primary purpose is to penetrate and lubricate the threads, breaking down rust and corrosion that might lock the nut in place. Here’s how to use penetrating oil effectively:
- For best results, apply penetrating oil generously around the flywheel nut base and let it soak for several hours or overnight.
- After the oil has had time to work, try loosening the nut with a breaker bar or wrench. The oil should make it easier to turn.
- If the nut is still stuck, apply more penetrating oil and wait before trying again.
- For extreme corrosion, use penetrating oil and gently tap the nut with a hammer to help break the bond.
- Once the nut starts moving, apply pressure until it’s fully removed.
Utilizing penetrating oil is a simple yet effective strategy that can significantly reduce the physical effort required to remove a flywheel nut. It’s an essential step that should be considered, especially in cases where rust and corrosion are factors.
Tapping the Nut with a Rubber Mallet
Tapping the flywheel nut with a rubber mallet can effectively loosen it without causing damage. This method is particularly helpful when slight movement is needed to begin loosening. Here’s how to proceed with this approach:
- Position yourself for a clear, direct hit on the nut with the mallet.
- Tap the nut’s edges gently in a counterclockwise direction with the rubber mallet. Use enough force to get it moving without causing damage.
- If the nut stays tight, increase your tapping force gradually, avoiding damage.
- Check if the nut has loosened after a few solid taps. If so, use a wrench or breaker bar to continue loosening it.
- If the nut remains tight, apply penetrating oil or heat before attempting again.
This technique combines the kinetic energy generated by tapping with the intricate force applied via a wrench or breaker bar, offering a non-destructive alternative to free a stubborn flywheel nut.
Using an Air Hammer
Using an air hammer to remove a flywheel nut can offer a powerful solution when other methods fall short. This tool uses compressed air to deliver rapid, hammer-like blows, helping to loosen even the most stubborn nuts. Here’s a step-by-step guide to using an air hammer efficiently:
- Choose a chisel bit for the air hammer that fits the nut’s edges well.
- Attach the chisel bit to the air hammer per the manufacturer’s instructions.
- Place the chisel bit at an angle against the nut’s edge, aiming counterclockwise to loosen it.
- Activate the air hammer and tap the nut gently, starting with low pressure and increasing it as needed without damaging the nut or the area around it.
- Check periodically if the nut is loose enough for a breaker bar or wrench.
- When the nut moves, use a hand tool to remove it completely, avoiding damage to the threads.
An air hammer should be employed with caution, as its potent force can easily damage components if not used correctly.
Always wear protective gear, including safety glasses and gloves, to shield yourself from any possible flying debris or accidents.
Hydraulic Pressure Break
The hydraulic pressure break technique leverages the power of hydraulic force to remove a flywheel nut without necessitating an impact wrench. This method can be particularly useful for stubborn nuts that have resisted other non-impact methods. Here’s a step-by-step guide to employing hydraulic pressure effectively:
- Set up a small hydraulic jack or nut splitter to directly press on the flywheel nut. Make sure it’s aligned and secure.
- Gradually increase the hydraulic pressure, aiming to turn the nut counterclockwise.
- Watch the pressure gauge to apply force smoothly and prevent damage to the flywheel or nut.
- When the nut starts to loosen, use a breaker bar or wrench to remove it fully.
- If you encounter resistance, carefully release pressure before reapplying to avoid damage.
The hydraulic pressure break method effectively removes extremely tight or corroded flywheel nuts, offering a controlled, powerful alternative to manual force.
It requires access to hydraulic equipment, making it more specialized but invaluable in the right situations.
Nut Splitter Tool
A nut splitter tool is a mechanical device designed to remove seized or stripped nuts without causing damage to the bolt threads.
This tool is ideal for situations where traditional turning methods could be more effective or impractical. The nut splitter works by placing a hardened steel cutting blade against one side of the nut and applying force through a screw mechanism, effectively cutting through the nut to allow for easy removal.
Here’s how to use a nut splitter tool safely and effectively:
- Select the correct size nut splitter tool that fits snugly over the nut you wish to remove.
- Position the tool so the cutting blade is against one flat side of the nut, ensuring it is seated properly to avoid slipping.
- Tighten the tool’s screw mechanism by turning it clockwise. As you do so, the cutting blade will press into the nut.
- Continue tightening the screw until the blade cuts through the nut, splitting it open.
- Once the nut is split, discard the pieces from the bolt.
A nut splitter tool is a straightforward solution that can save considerable time and effort, especially when dealing with rusted or rounded-off nuts. It’s a valuable addition to any toolkit, offering a non-destructive alternative to cutting torches or grinders when preserving the integrity of the bolt is crucial.
Professional Services and Tools
Turning to professional services may be your best solution when all else fails or when you’re dealing with a particularly stubborn flywheel nut that resists even the most sophisticated removal techniques.
Professional mechanics and automotive service centers are equipped with industrial-strength tools and possess the expertise necessary to tackle challenging situations without damaging your vehicle.
Conclusion
Removing a flywheel nut can be challenging and time-consuming, but with the right tools and techniques, it can be accomplished without causing damage.
From manual methods like penetrating oil and heat to more specialized solutions such as air hammers and hydraulic pressure breaks, there are various approaches one can take to loosen a tight flywheel nut. However, if all else fails, feel free to seek professional help.
By following these tips and taking the necessary precautions, you can safely remove a flywheel nut and get back on the road quickly. So, next time you encounter a stubborn flywheel nut, remember to stay patient, use proper techniques and tools, and never be afraid to ask for expert assistance.


