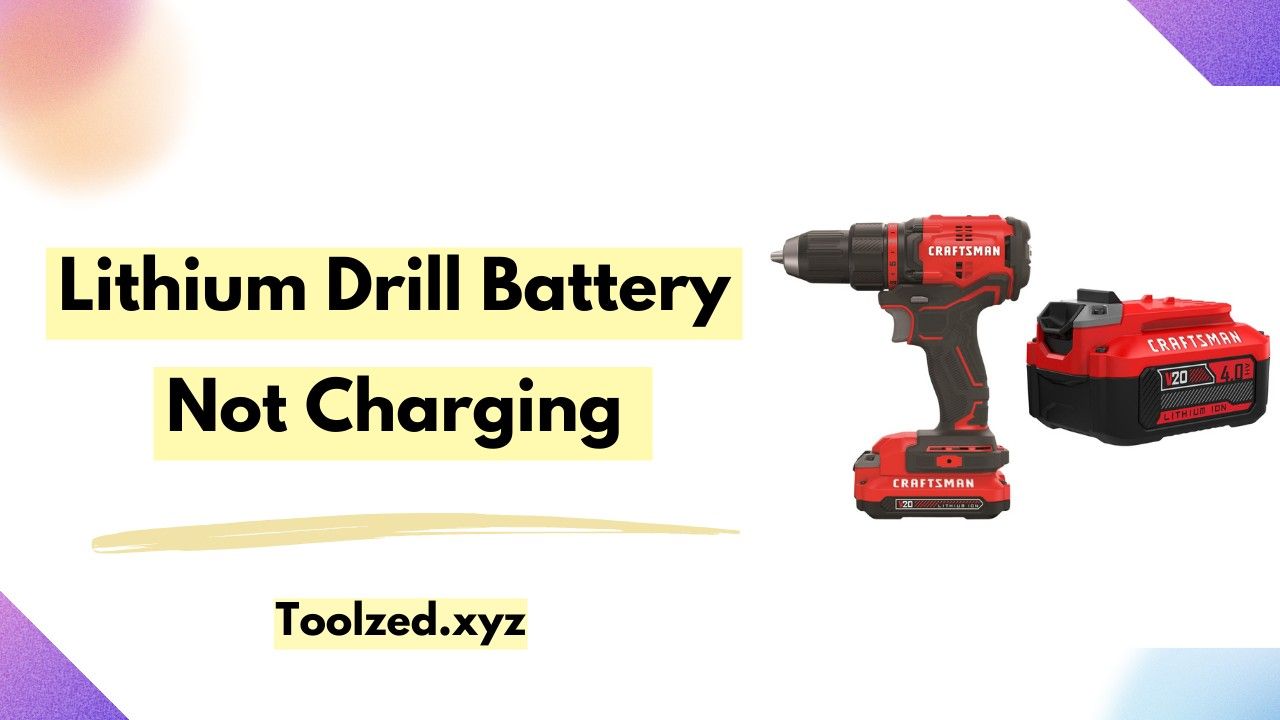
Having trouble with your drill after swapping out the battery? Don’t worry, you’re not alone! It’s a common issue that many DIY enthusiasts and professionals encounter.
But fear not, we’re here to help troubleshoot and get your drill back in action.
In this blog post, we’ll explore some common reasons why your drill might not be working after a battery change and provide simple solutions to get it running smoothly again. So, let’s dive in and get those projects back on track!
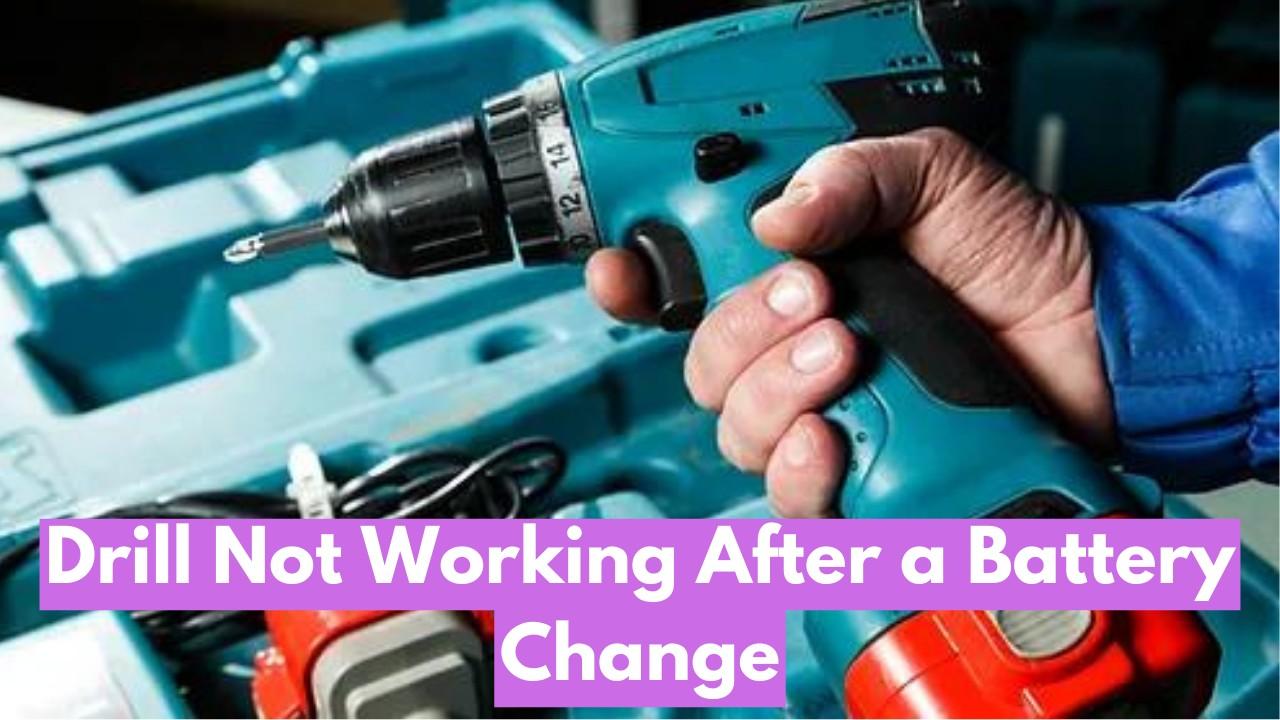
Drill Not Working After a Battery Change: Reasons And Solutions
1. Improper Battery Insertion
One of the most common reasons a drill won’t work after changing the battery is improper insertion. It’s easy to overlook, but ensuring that the battery is securely and correctly inserted can make all the difference.
Solution:
- Remove and Reinsert: Take the battery out and reinsert it, making sure it clicks into place securely.
- Check for Obstructions: Inspect the battery compartment for any debris or obstructions that may prevent a proper connection.
2. Inspect the Chuck
The chuck, which holds the drill bit in place, is another critical component to inspect when your drill isn’t working after a battery change. A loose or improperly tightened chuck can prevent the drill from operating correctly.
Solution:
- Tighten the Chuck: Ensure that the chuck is properly tightened around the drill bit. If it’s loose, the bit may slip, preventing the drill from functioning.
- Check for Debris: Remove the drill bit and inspect the chuck for any debris or residue that could interfere with its operation. Clean the chuck and reinsert the drill bit securely.
- Test with a Different Bit: Sometimes, the issue may be with the drill bit itself. Try using a different bit to see if the drill operates correctly. If it does, the original bit may need to be replaced.
3. Look for Overheating
Overheating is another potential cause for your drill to stop working after a battery change. Drills can overheat if they’ve been used for an extended period or under heavy load, leading to temporary shutdowns to prevent damage.
Solution:
- Turn Off and Let It Cool: If you suspect overheating, turn off the drill and allow it to cool down for at least 15-20 minutes. This can help reset any thermal safety features.
- Check Ventilation: Ensure that the ventilation slots on the drill are not blocked by dust or debris. Clean them out if necessary to allow proper airflow.
- Use at Intervals: In case you were using the drill continuously, try using it in shorter intervals to prevent overheating. Take breaks between usage to allow the tool to cool down naturally.
4. Look for Physical Damage
Physical damage to the drill or battery may also be a reason for it to stop working after a battery change. It’s crucial to inspect the external parts of your drill and battery for any signs of damage such as cracks or dents.
Solution:
- Replace Damaged Parts: If you notice any physical damage, replace the affected parts immediately. Even minor damages can significantly impact the drill’s functionality.
- Check for Water Damage: If your drill has been exposed to water, it may have caused internal damage. Inspect the battery and the drill for any signs of water damage and replace them if necessary.
5. Battery Not Charged
Sometimes, the issue is as simple as a battery that isn’t fully charged. Even if the battery is new or recently charged, it’s worth double-checking.
Solution:
- Charge the Battery: Place the battery on the charger and ensure it reaches full charge before trying again.
- Test with Another Battery: If you have a spare battery, try using it to determine if the original battery was the issue.
6. Faulty Battery
If the battery is new but the drill still won’t work, the battery itself might be faulty. This can happen even with brand-new batteries due to manufacturing defects.
Solution:
- Test with a Known Good Battery: Use another battery that you know works to see if the drill functions properly.
- Contact the Manufacturer: If the battery is faulty, reach out to the manufacturer for a replacement or warranty service.
- You can Check the list of reliable batteries here.
7. Dirty or Corroded Contacts
Dirty or corroded contacts between the battery and the drill can prevent a proper connection, leading to power issues.
Solution:
- Clean the Contacts: Use a clean cloth or a small brush to gently clean the battery contacts and the contacts inside the drill.
- Use Contact Cleaner: A contact cleaner spray can help remove corrosion and improve connectivity.
8. Drill Trigger or Switch Issues
If the battery isn’t the problem, the issue might lie with the drill’s trigger or switch.
Solution:
- Inspect the Trigger: Ensure the trigger is not stuck or damaged.
- Test the Switch: If you’re comfortable with basic electrical work, use a multimeter to test the switch for continuity. If it’s faulty, replacing the switch might be necessary.
9. Motor Problems
In some cases, the drill’s motor might be the culprit. This is less common but can occur, especially if the drill has been heavily used or subjected to tough conditions.
Solution:
- Listen for Sounds: If the motor makes unusual noises or doesn’t start at all, it might need professional repair or replacement.
- Consult a Professional: For motor issues, it’s often best to consult a professional repair service or the manufacturer’s support team.
Conclusion
A drill that stops working after a battery change can be a major inconvenience, but with the right troubleshooting steps, you can often resolve the issue quickly and easily. By following this guide, you’ll be better equipped to identify and fix common problems, ensuring your projects stay on track.
If you’ve tried all the solutions above and your drill still isn’t working, it might be time to consult a professional or contact the manufacturer for further assistance. Remember, regular maintenance and proper care can go a long way in preventing future issues.
Got any tips or experiences with drill troubleshooting? Share them in the comments below! And if you found this guide helpful, don’t forget to share it with your fellow DIY enthusiasts and professionals. Happy drilling!
